Naked Trailer Photos

Like a bad striptease, it all came off this weekend.
And surprisingly, what was underneath wasn't as scary as we thought.
Sure, there were some bumps and wrinkles, (and some saggy bits), but like many dicey situations, leaving things to the imagination was worse than the reality, and at least now we know who we've brought home.
Ahem.
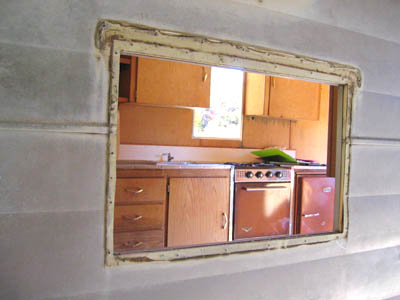 When last we left, we had taken off most of the exterior screws and some of the windows and trim in preparation for removing the skin. This weekend we finished pulling all trim, windows, and appliances.
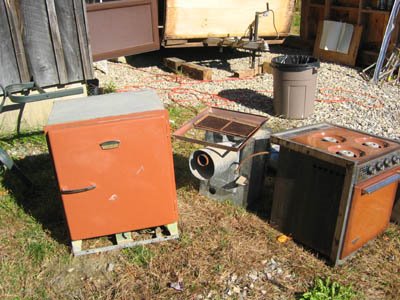
The appliances are on their way to a propane company for a good cleaning and a safety check.
Interestingly, we realized that the stove and refrigerator are too big to fit through the door, so we had to take off the rotting front corner panel to get them out. Clearly, they were on the deck before the walls were raised during original construction. We will have to have them back before we can begin the reframing in the front.
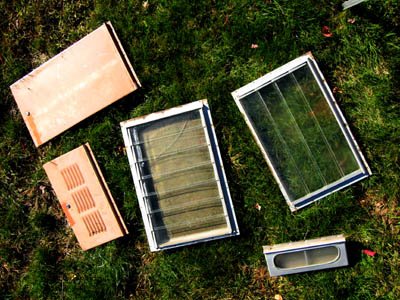
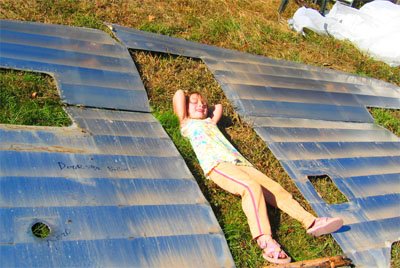
As we were pulling everything off we laid it on the grass so we could label the parts for reassembly. Luckily it was a totally gorgeous fall weekend with very little wind which really helped us get the aluminium off smoothly.
All parts will be stored on shelving in an adjacent storage area for safekeeping.
I have to say, this has been really fun, kind of like working a puzzle. There is no rocket science here, just nuts and bolts, step by step, taking it one piece at a time.
And now I will let you in on a little secret.
Here is the most useful tool you will ever find if you have to remove aluminum from a vintage trailer.
 It is an upholstery tack and staple remover, and it is worth its weight in gold when it comes to pulling rusty flat headed nails out of old aluminum.
It looks a little bit like a clam knife, (for those of you who have ever shucked oysters), and the curved/tapered tip allows you to get under the head of the nail and lift it, and then the serations on the side allow you to pull the nail out with a flick of a wrist. This and a hammer were all we needed to completely unskin the trailer.
On this trailer the skin was applied in panels with the side tops first, followed by the side bottoms, and then the roof, which rolls over the sides, followed by the front and back, top to bottom (which also roll over the sides). So we took it off in reverse order, from bottom to top, front/back and then sides.
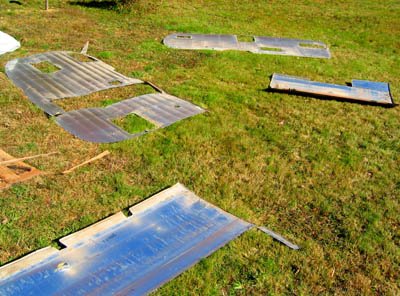 We laid it on the ground wrong side up, and marked all openings, joints, and holes for future reference.
Unfortunately, I have been unable to find a source to replicate the 6" run pattern of the original siding, so it looks like I will be re-skinning the trailer with 4" run instead. The original skin has a few bad tears, and if I'm going to the trouble to completely tear down the trailer, I want it to look as good as possible when we finish, so new aluminum is preferable. I have seen restored Shastas with 4" siding and they look great.
 Although we took off all of the nails holding the roof on, there was no point in actually removing it. We will be reusing it, and it will keep its shape better if it just stays in place. We will still be able to get under there to re-wire and add insulation. The roof joins are "Pittsburg Joints" as opposed to the simple "S-Joints" which are used on the rest of the trailer, and are much easier to separate. I'm pretty sure they joined the roof panels together and then put the entire roof on in one piece during original assembly.
After taking off the skin, we cut away the (very meager) fiberglass insulation, so we could check out the wiring, framing, and veneer. We will replace the insulation with a much more robust closed cell insulation that will help both in terms of strength and in resistance to condensation, a major threat to these old trailers.
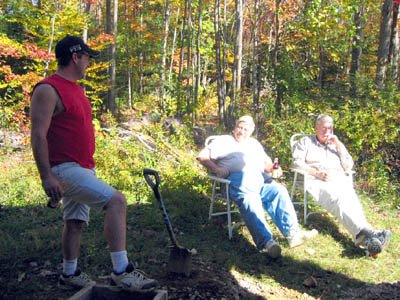 This weekend's activities brought out a full complement of family inspectors, helpers, and philosophers who took full advantage of the beautiful holiday weekend.
We'll see if they're still here come November.
Next time: Cutaway and framing.
posted by Trailer Pixie at 7:47 AM
![]()

1 Comments:
Do you guys have any follow-up pictures of this Shasta? We have one just like it, same color and model and everything, and I'd love to see how it turned out or is coming along!
Post a Comment
<< Home